
So this has been a tough one. I am a fan of hosted email services. Microsoft Exchange server is a beast, and when it comes to managing it, babysitting it and caring for it, generally well, this sums it up

This is why cloud solutions from BPOS back in the day, through to Office 365 and G-Suite/Google Workplace are so popular. Think about it, managing an Exchange environment is tough, from Mailbox management, Spam protection, Anti Virus (invoice.pdf.exe anyone?), certificate management, Exchange Updates, Windows Updates, hardware/hypervisor updates, well you get the idea. It takes a lot. It turns out though that some people don’t use a SaaS mail provider, shocking! This could be for a multitude of reasons, including legacy set up, that might or might not have evolved, or just not wanting to pay subscription fees. Either way, I thought I would take a look at it, since I haven’t played with Exchange in such a long time.
Design Brief
There are several things I am going to look at for this Exchange deployment, the below will be a bullet point list of the design brief.
- OS: Windows Server 2019 Core (2019 no longer requires a desktop! and MS are actively encouraging the use of Core! #HappyDance)
- Exchange Server 2019 (will start with most recent)
- Wildcard SSL certificate from LetsEncrypt (automatic Certificate management! and oh yeah it’s FREE)
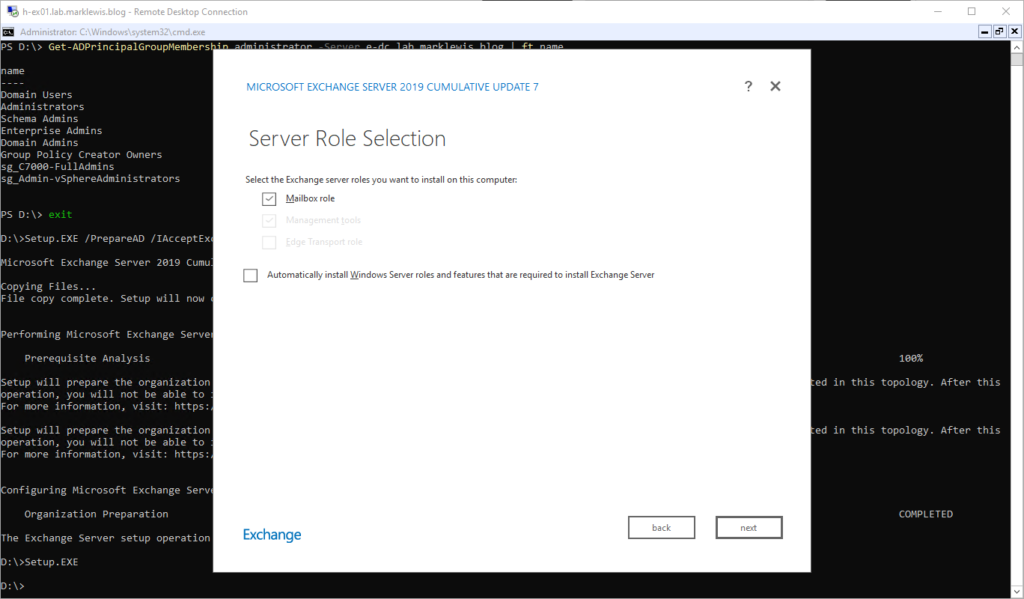
- Mailbox server in the LAN (it’s only supported on LAN)
- Edge Transport server in DMZ (might as well complicate things!)
- REFS used for Data Drives
- Single Namespace for all services (mail.marklewis.blog)
- DAG, Make it IP-Less, might as well as wish I had, this might come later down the line though.
Once it’s set up, I might look to go Hybrid with it in Office 365, but lets bang my head on the table with this first.
Exchange Deployment
I won’t bore you with the deployment of Windows Server 2019. Needless to say, its a standard process, boot from DVD, name machine, join domain, set static IP, apply the AVMA key and apply updates.
Prerequisites
Before we start deploying Exchange Server, we have to install some prerequisites. I won’t go through all the screenshots but will give you an idea of what’s involved.
We start with DotNet framework

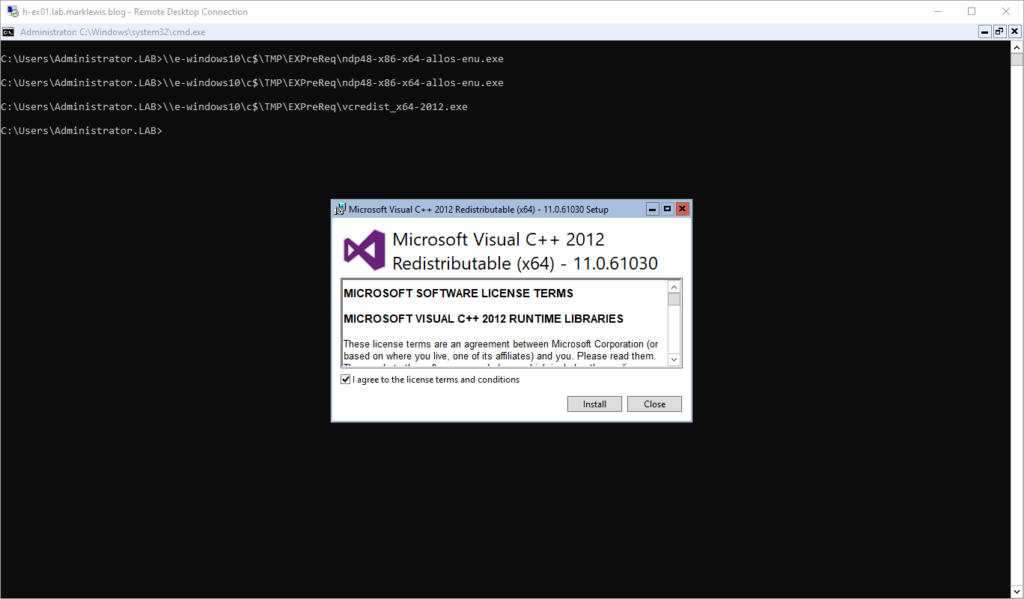
Then the 2012 C++ Redistributable
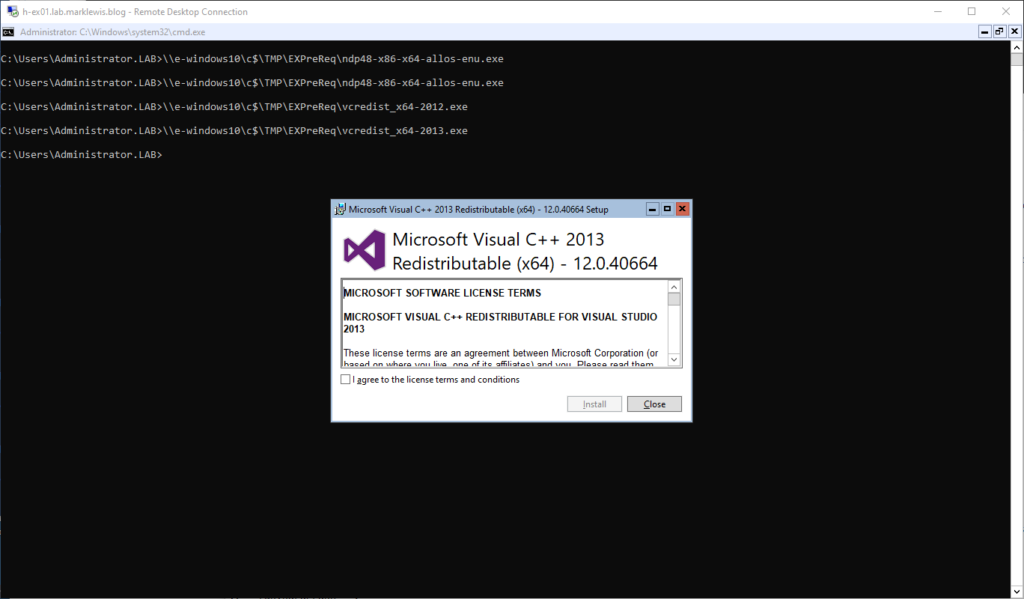
Followed by the 2013
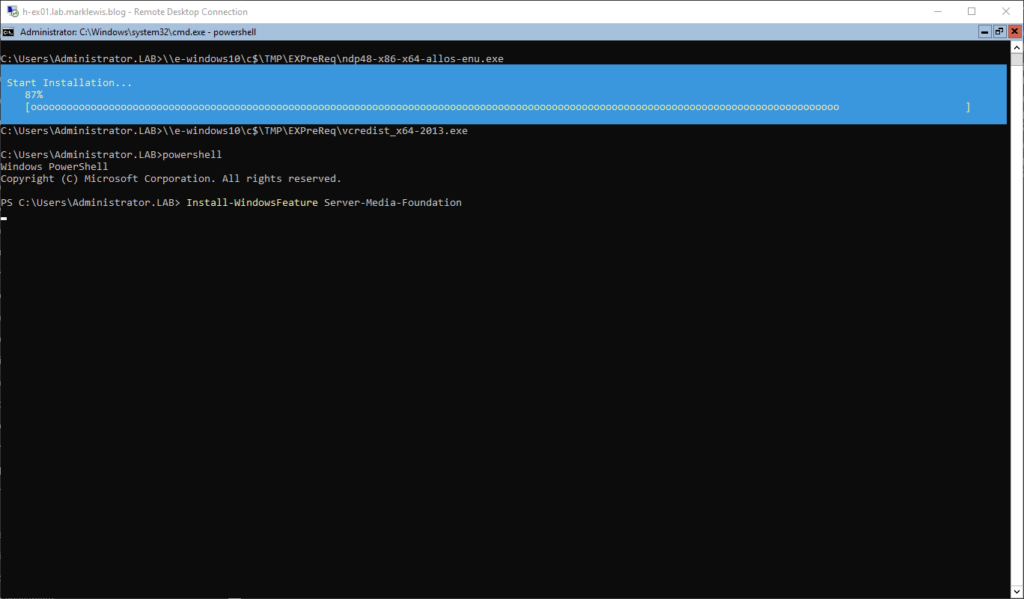
Followed by adding the Skype/Lync requirements
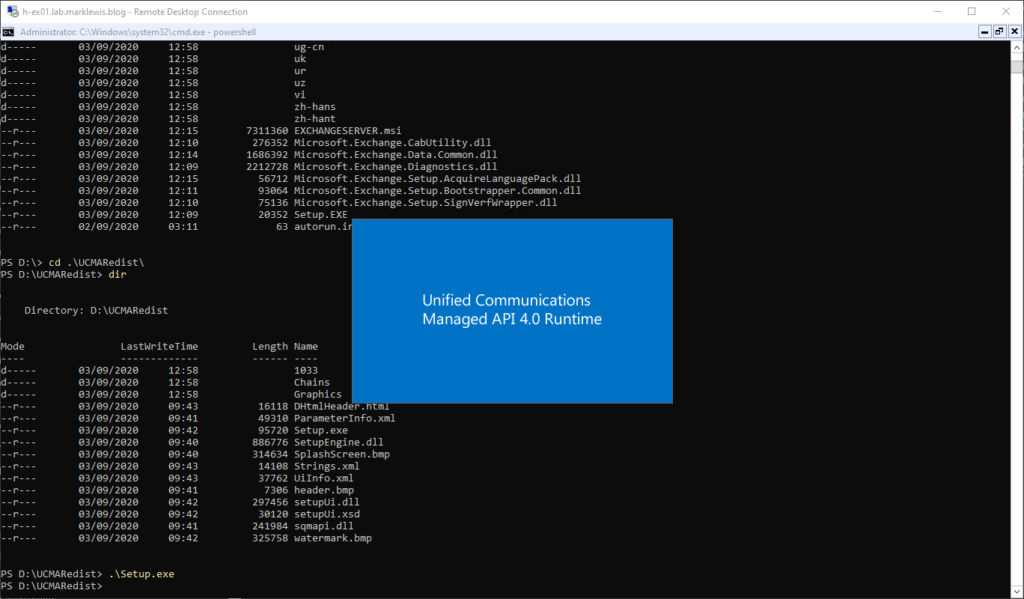
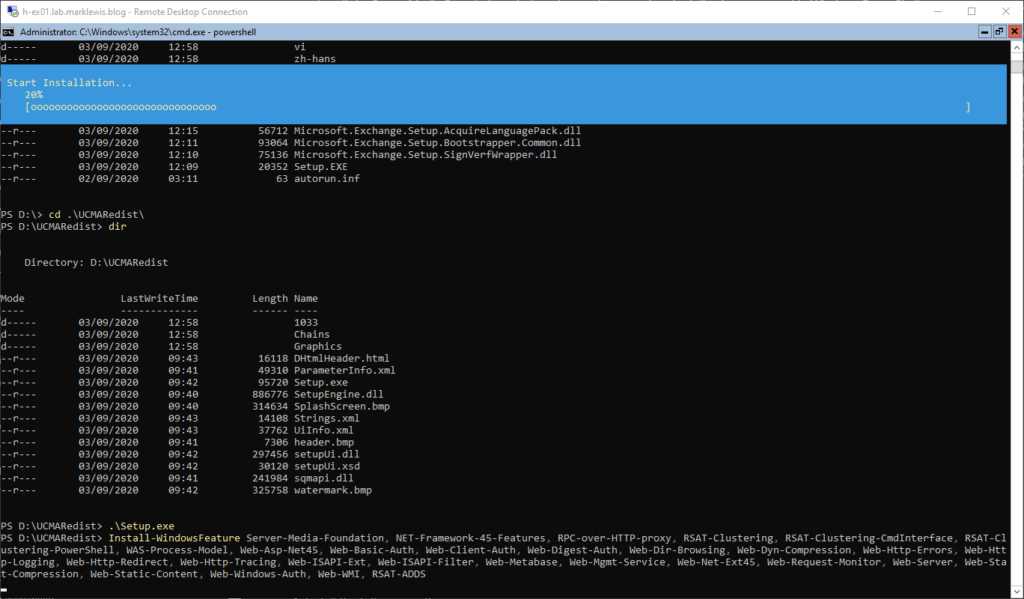
And, because I’m using Core, I have to run the Unified Communications API installer on the DVD
And Finally, the Windows Server roles required
And that’s the prerequisites done ready to install Exchange Server. Before we do though, give it a reboot!
Prepare AD
I guess this is a prerequisite, but I think it’s worth calling out on its own. This stage of the installation is where the AD schema is extended, several user accounts are created for mailboxes, permissions are set and various other things. This step is often required as part of applying a CU as well due to changes coming in those. Before running this step, you need to be a schema admin, AND BACK UP YOUR AD ENVIRONMENT.
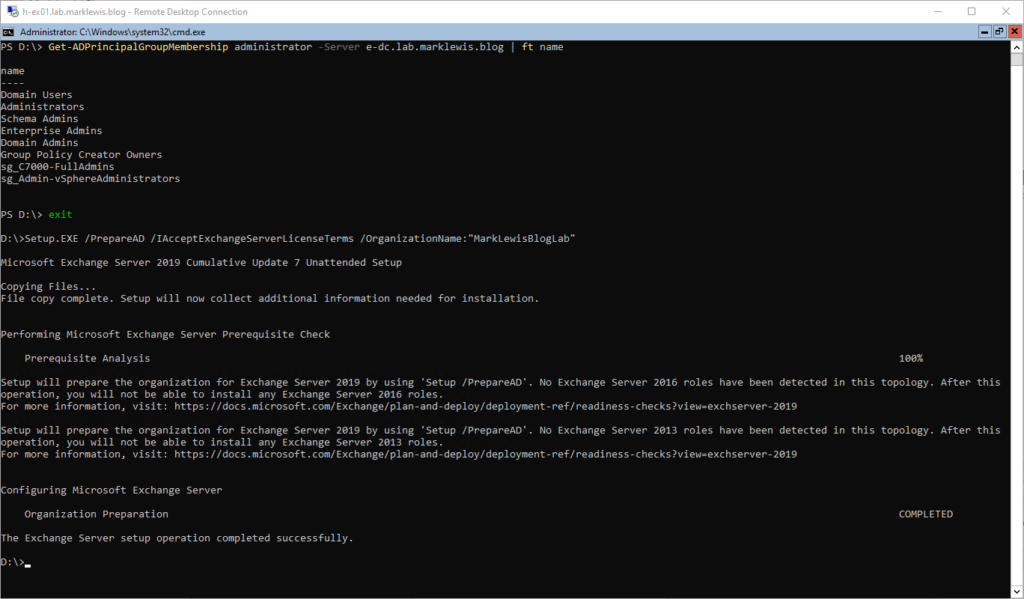
This has to be run from a machine in the same domain and SITE as the schema master. I had to run
Move-ADDirectoryServerOperationMasterRole -Identity "Target-DC" -OperationMasterRole 0,1,2,3,4It’s possible to move just “3” to the same site as where you are running Prepare AD from. Anyway, if PrepareAD runs correctly, you should see something like this:
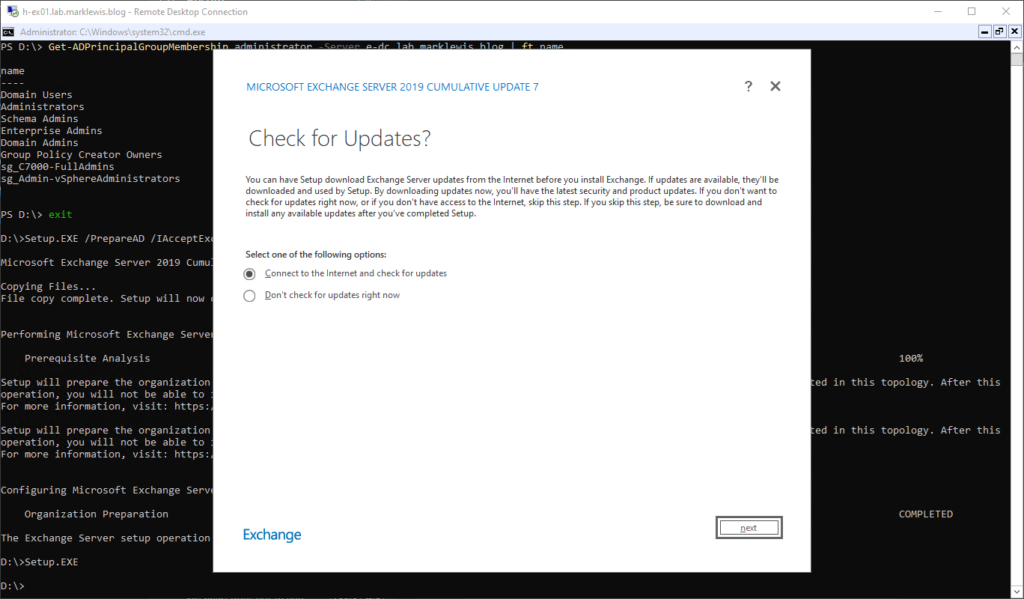
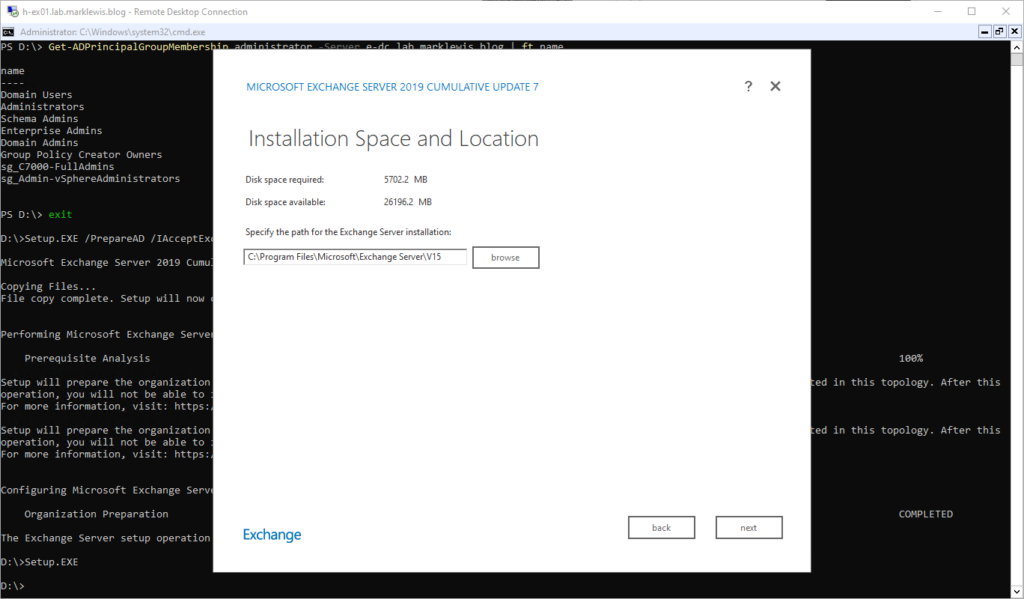
Exchange Install
Finally, we will proceed with the Exchange installation itself:
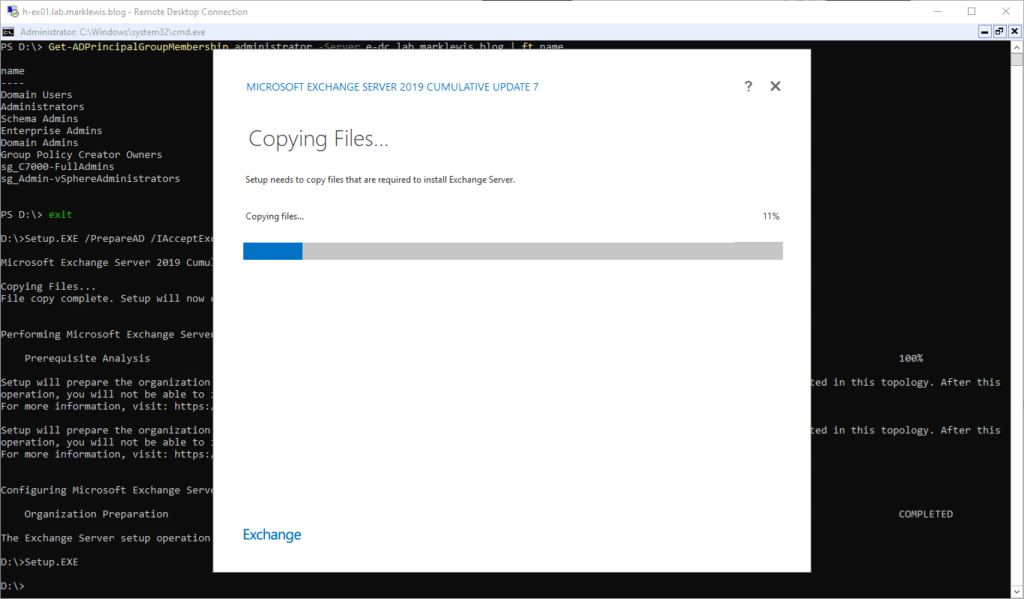

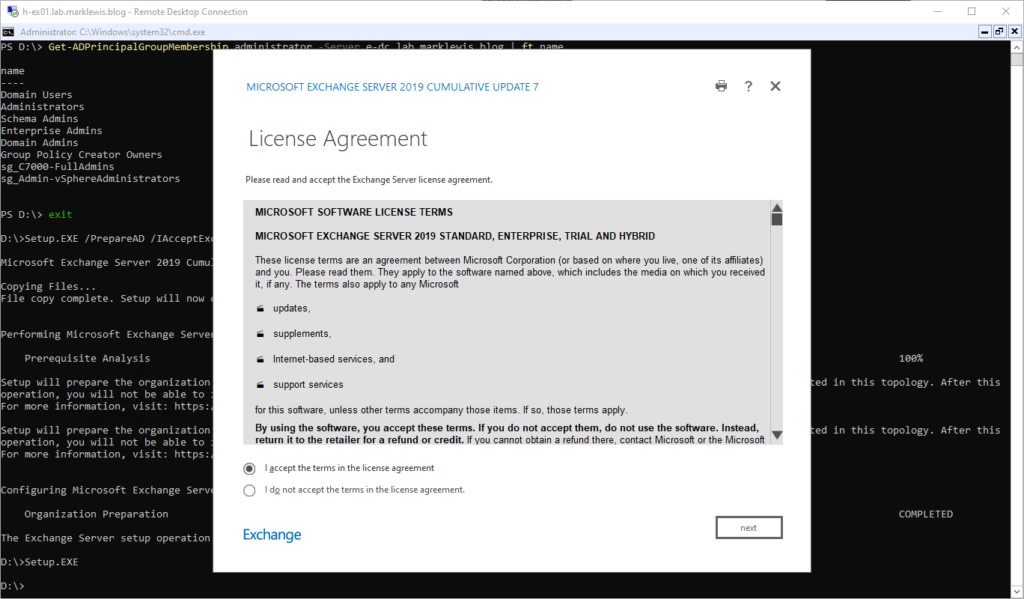
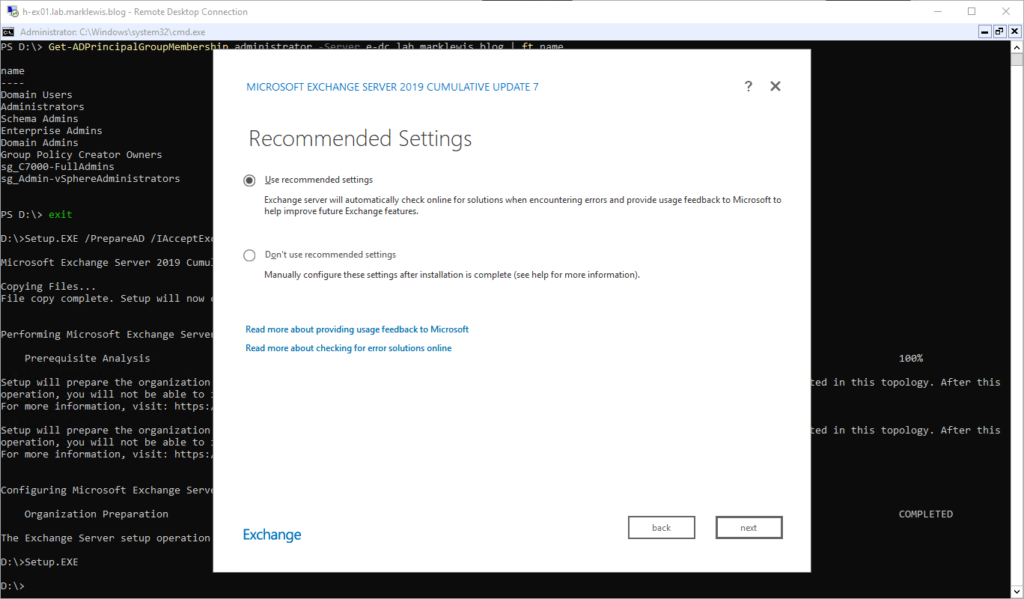
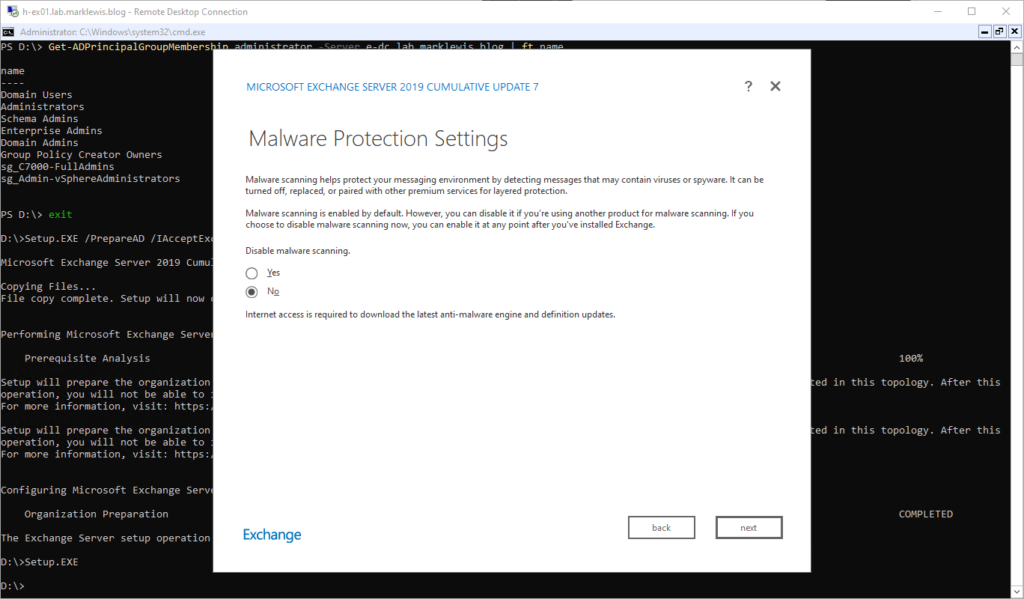
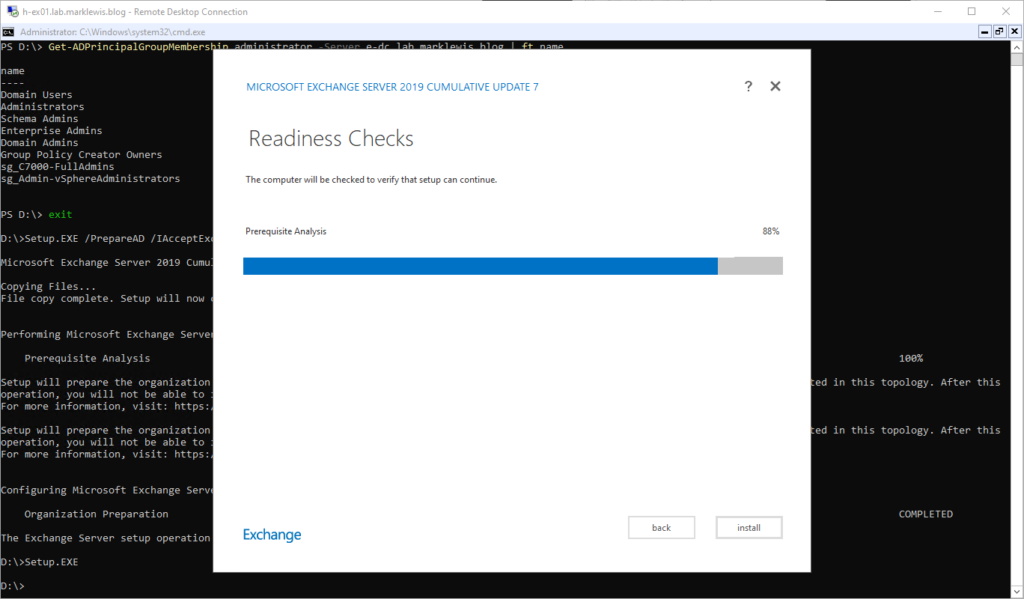
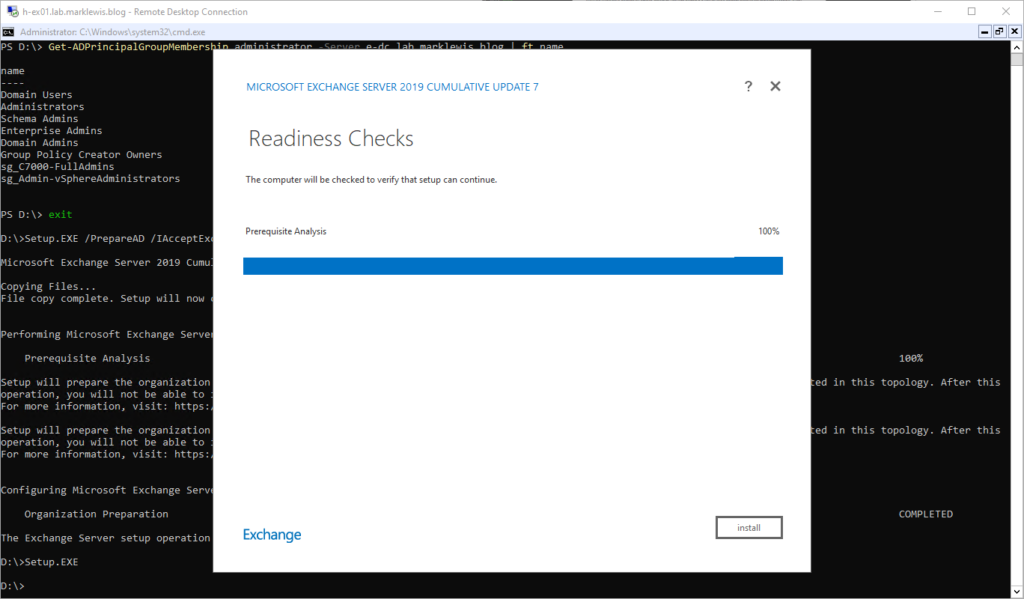

At this point, you might as well go off, make a brew, sort world peace, make several scientific discoveries and then come back to find it’s nearly finished.
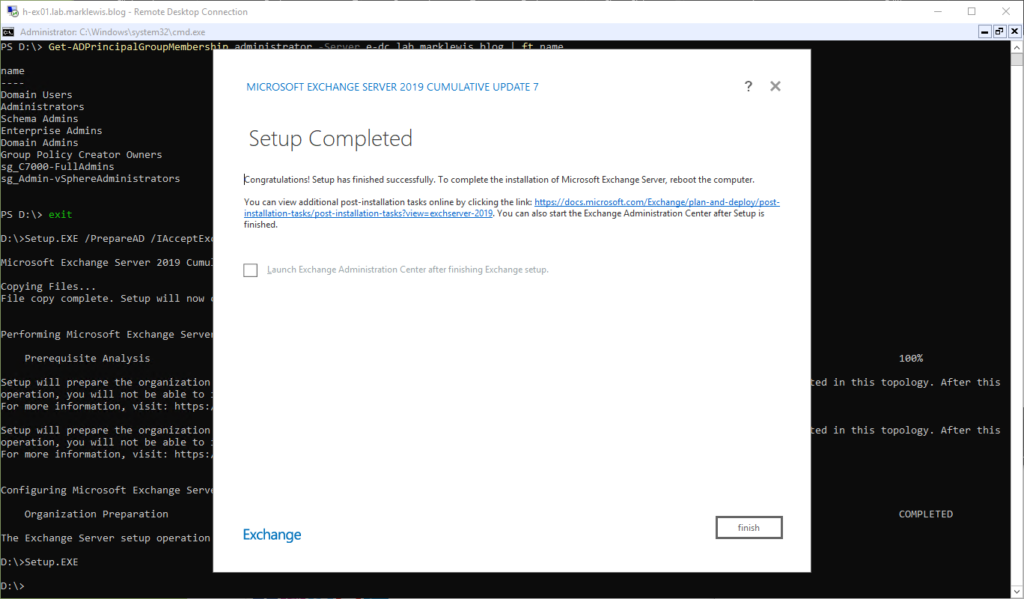
Hip hip horray! I can’t select launch EAC as I am running core, which does not include a browser. Instead, I will just do finish, and then log off. From my admin workstation, I can now sign in to the Exchange Admin Center
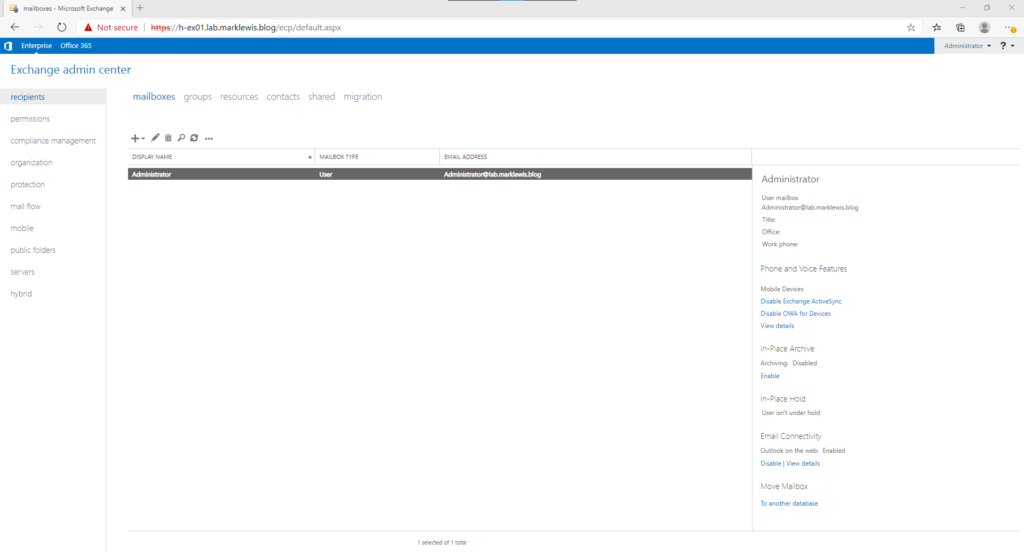
Configuration
First thing I will configure for the Exchange server is the single name space. The simplest way I have found to do this is using a script written by Paul Cunningham from Practical 365.
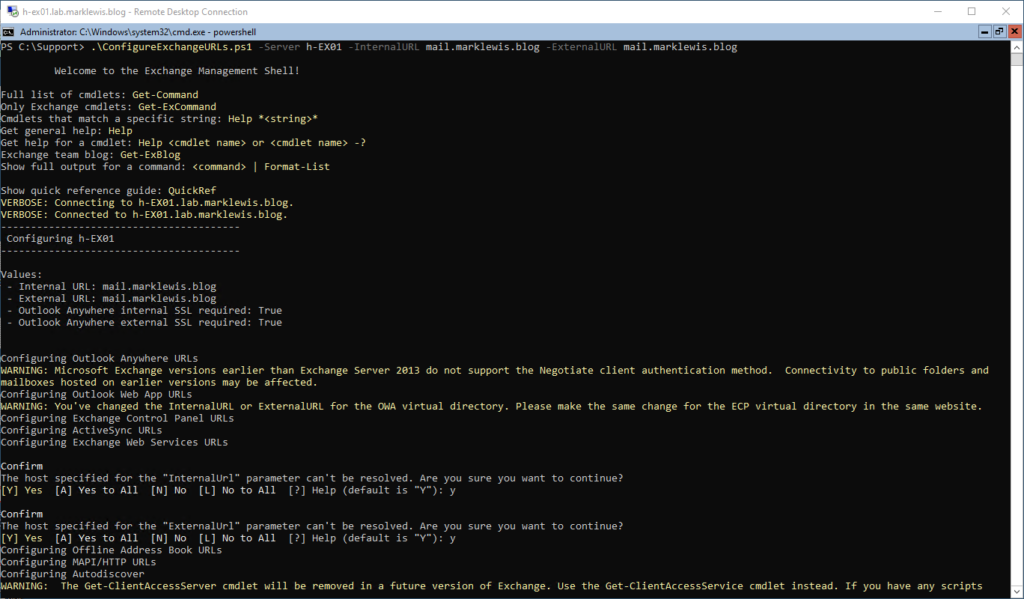
Certificates and publishing
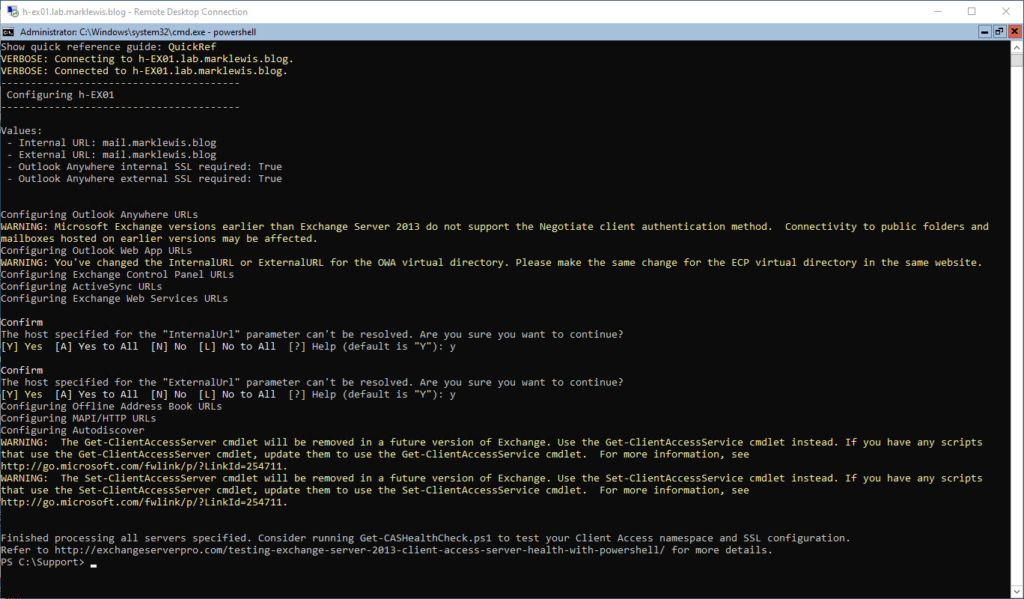
And now, that’s done, with the URLs all now pointing to mail.marklewis.blog. Next task is to sort out the Certificate. Certificate management is a boring task, so the idea is to make use of LetsEncrypt and it’s free certificates along with the ACME client for automating the renewal process every 90 days.
OK so now, a bit of a rambling. I was working out how to publish OWA to the internet, I currently have a 3CX phone system as well. Because 3CX also has HTTPS published, I can’t just do an SNI based routing with the firewall. I really wanted to use Sophos XG WAF for this, as it’s arguably the right thing to do. BUT Sophos XG WAF requires the upload of a HTTPS Certificate, it would be nice if it supported Lets Encrypt for generating the certs but hey ho. So, after digging around, I am going to make use of HAProxy. The Sophos XG will forward HTTPS traffic to the HAProxy, which will then use SNI to decide where to send the requests. I wanted to put HAProxy in a docker container to simplify things a bit, but my vCenter license doesn’t support distributed switches so I couldn’t use the VMware containers. So, after much circling around, I will create an Ubuntu VM to run HAProxy on. This wasn’t as simple as I had hoped, but I am now there. HAProxy publishing OWA access and also access to the VOIP system.
So, to handle the IIS certificate, I will use win-acme. Download the latest release, named win-acme.v2.1.12.943.x64.trimmed.zip (note the version number may be different. When it was extracted, I renamed the directory to just win-acme. Then connect to the server, navigate to the directory you used and run wacs.exe

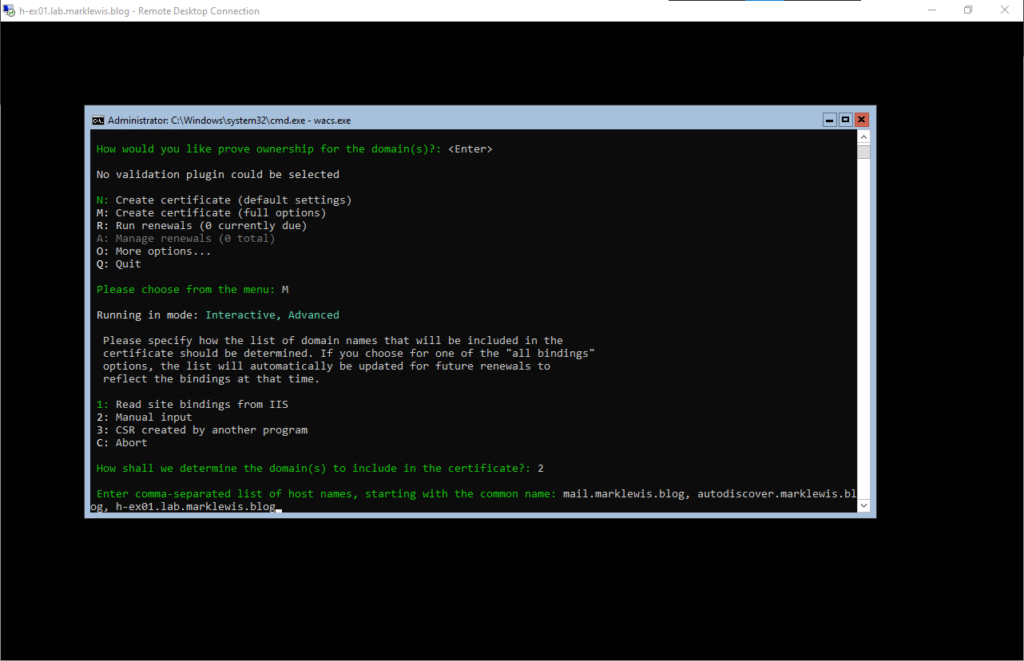
We’re going to use M to create a new certificate, hopefully a wildcard one! We’re going to use Option 2 and manually specify the binding because IIS doesn’t use specific names.
Next, we fill in the names. I wanted to use a wildcard certificate but this would not automatically renew without additional work. As a result, I have chosen to specify the names I am aware of.
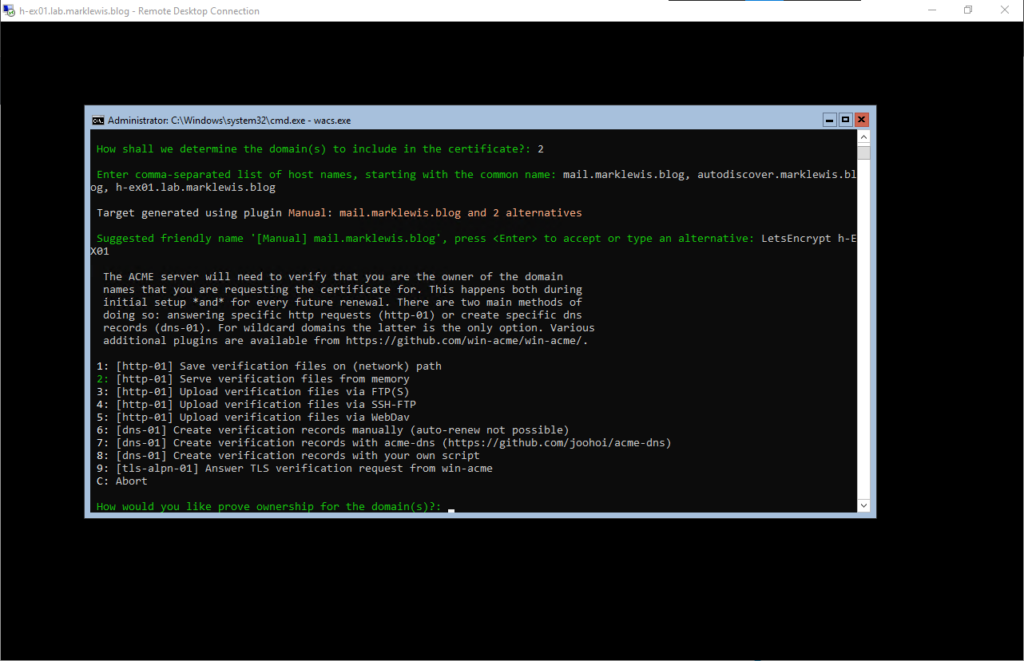
I’m going to give it a friendly name, then we will use option 2 for automatic verification
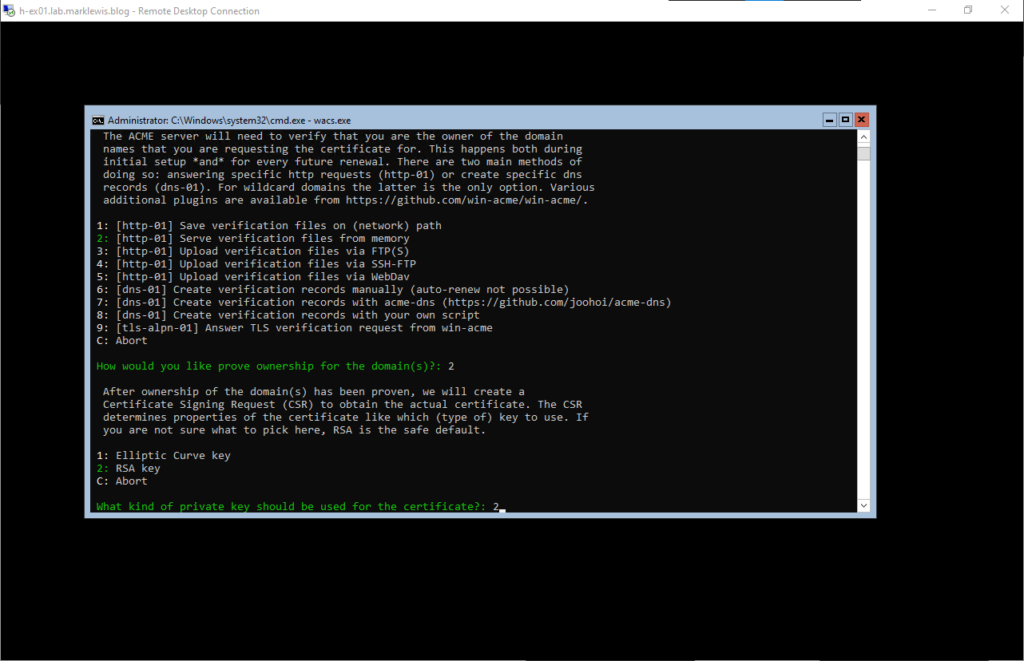
As suggested, we will go with RSA
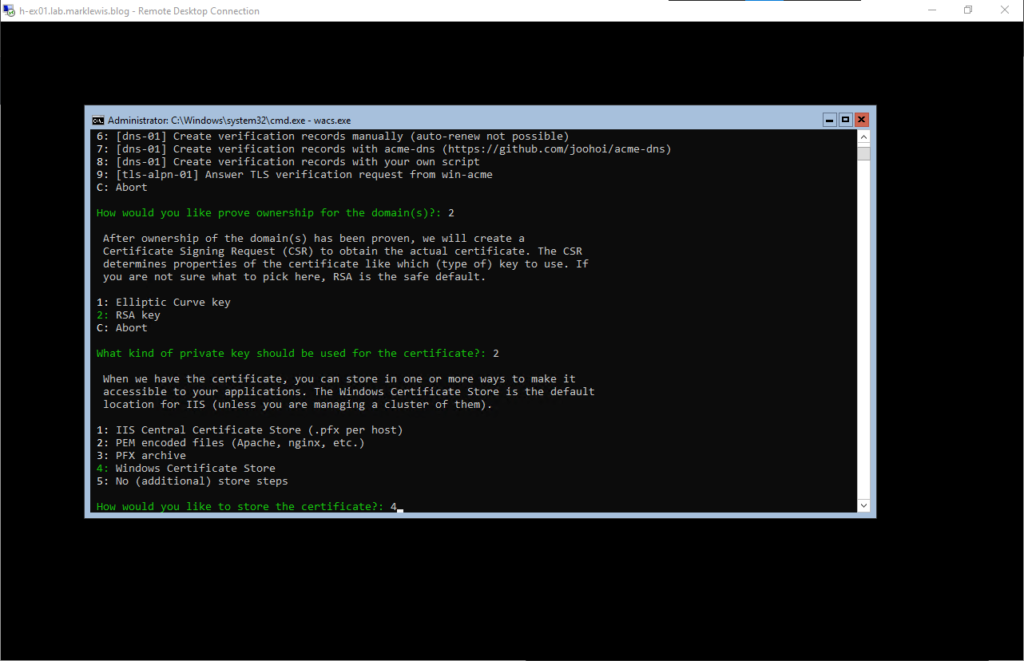
We will store it in the Windows store as multiple servers don’t form a cluster.
We won’t store it any other way. The idea is that this will handle things all by itself

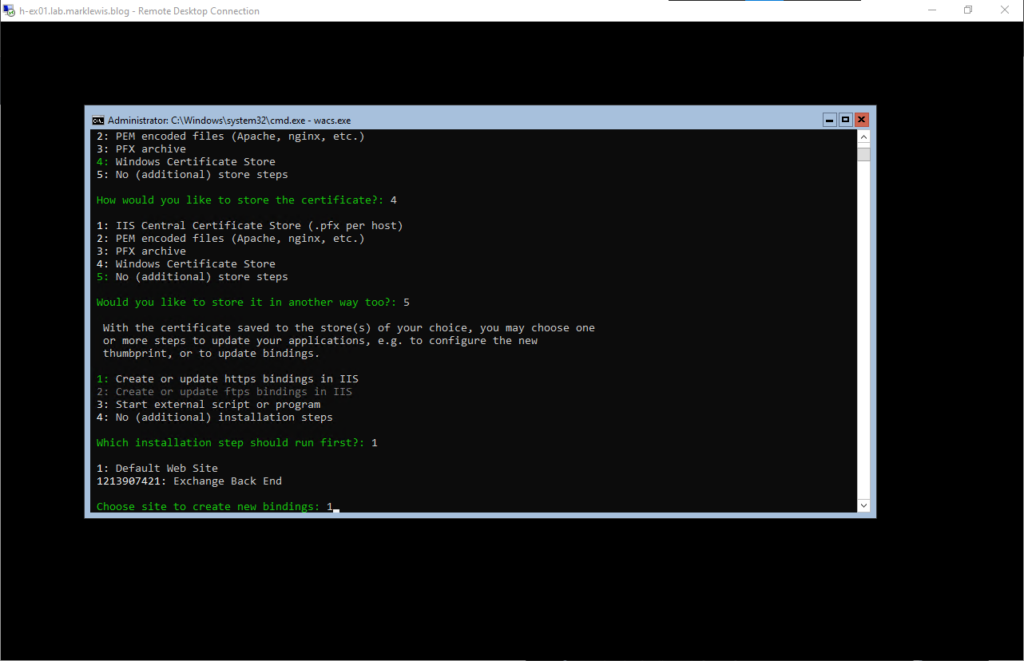
Then we will let the acme client update the bindings
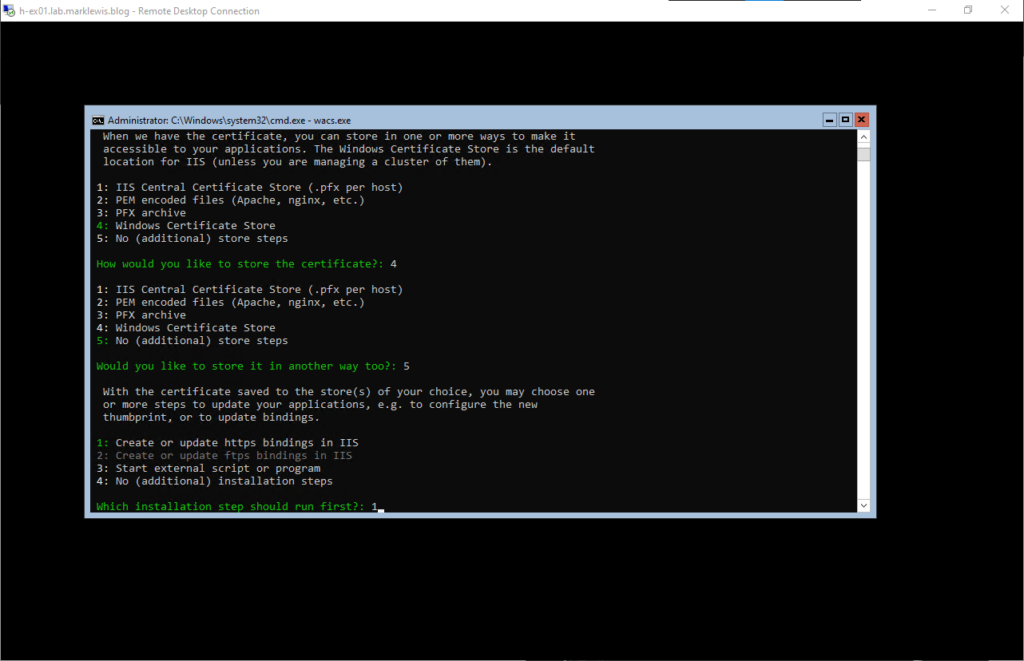
Then we will update the default site first
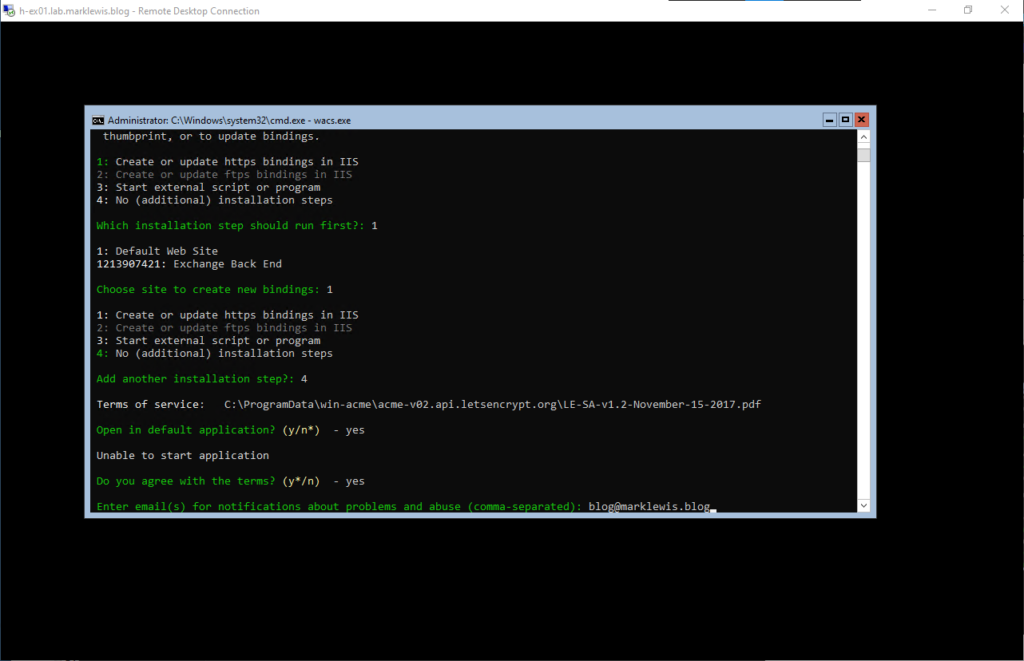
We will then exit the loop with a 4 followed by letting it attempt to open the T&Cs. This will fail due to being server core and not having anything to open it. I’ll accept it.

Specify the email address that you wish to get notifications to
After discovering a slight issue with my HAProxy config because of how I was filtering on the path as well as the host, it all ran through as I wanted.
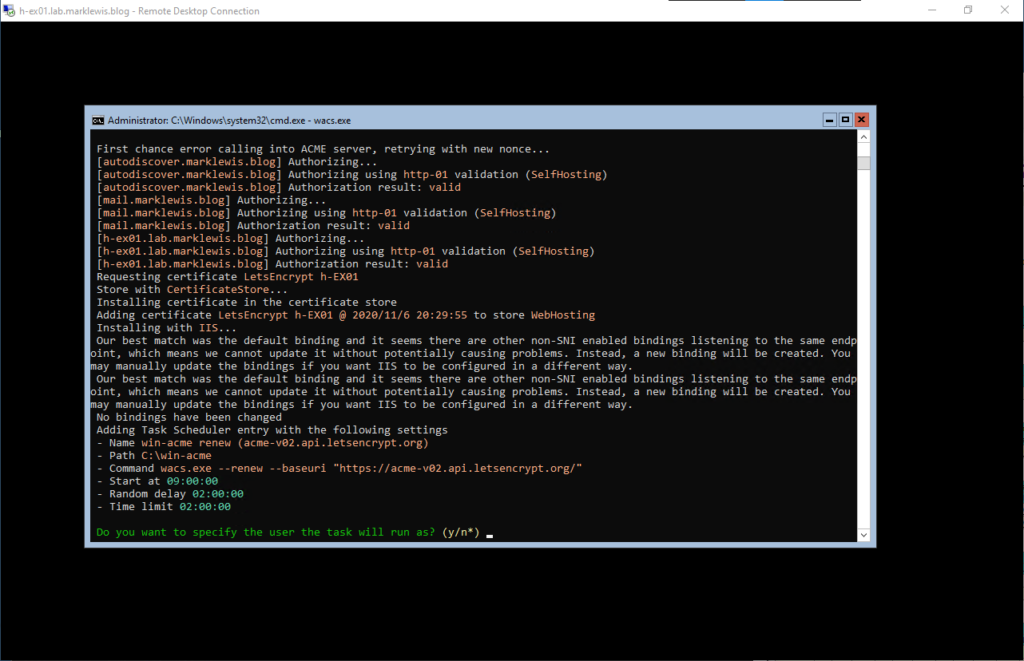
I am not going to specify the user to run as, for now it can run as system. You’ll notice that it reported an error on the lack of SNI for binding. Well I connected to another IIS Server (Management tools on Windows 10 doesn’t work), and then manually updated the binding
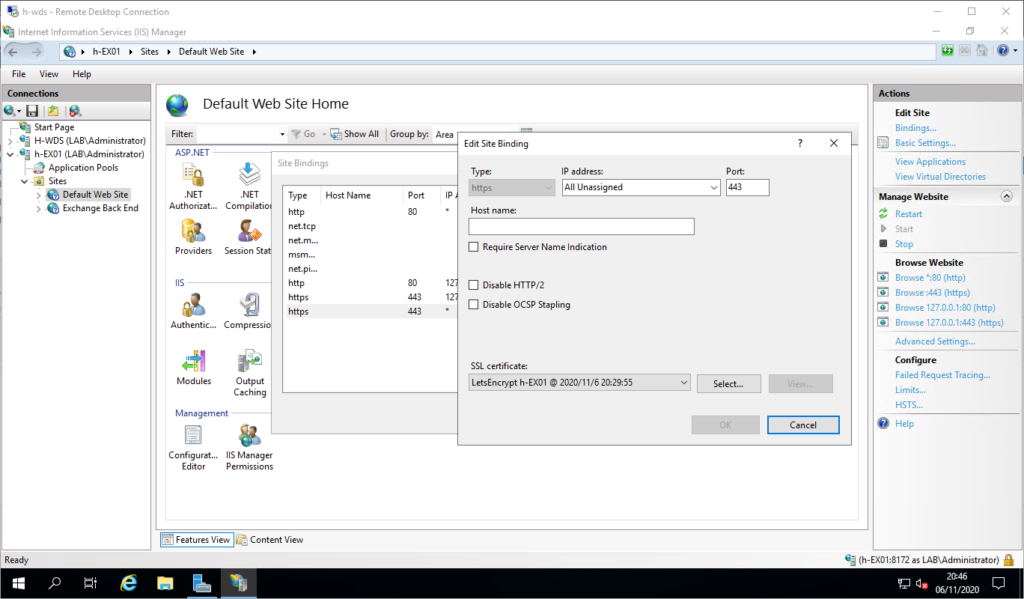
And, last step, just check all works
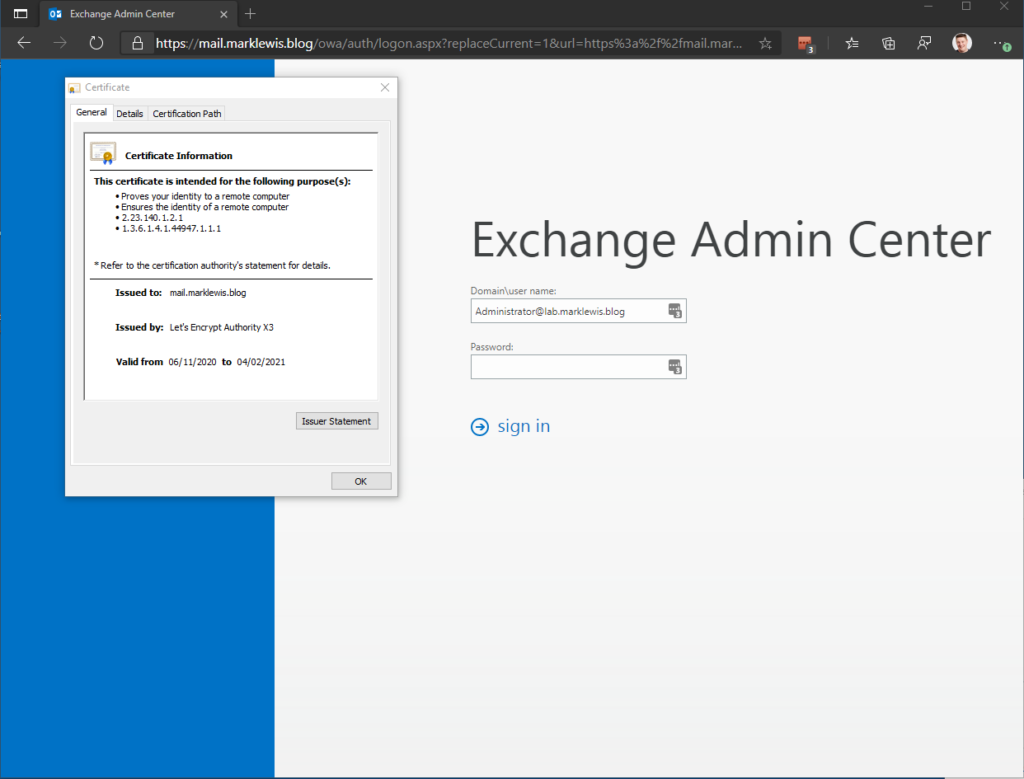
Happy Days, now to wait 3 months and make sure everything still works!
I will leave this blog post here for now, I still have to sort SMTP, any mailboxes that I want, export/import of the mail that I have. Set up the secondary server and the edge transport server in the DMZ. For now though, I’ve learnt a fair bit about HAProxy, I’ve set up Exchange 2019 on Windows Server 2019 Core, I have applied certificates and published OWA out.
What are your hardware specs for the system running Exchange 2019?
I am using 4vCPU and 8GB RAM, it’s a single user and one shared mailbox so not a heavy load. The hypervisor CPU is a Ryzen 5.
With only Exchange 2019 on a Windows Server 2019 VM, I’m using 8GB at all times after only the installation. Do you recall the ram usage for your case? The cpu is an i5-6500 if it matters.
My Exchange server currently runs at around 6 out of 8GB RAM. I am now on Proxmox as a host.