
In Home and Lab Network Infrastructure I outlined some issues I was having with the home network and how I planned to fix them. Then in Ubiquiti Journey Part 1 I went through setting up the UniFi network controller.
I am still waiting for my delivery but thought I would do some preparation work. UniFi networks are completely different to most things I have used before, including Cisco Meraki. Lets start with ensuring the VLANs are set and ready to roll.
Networks
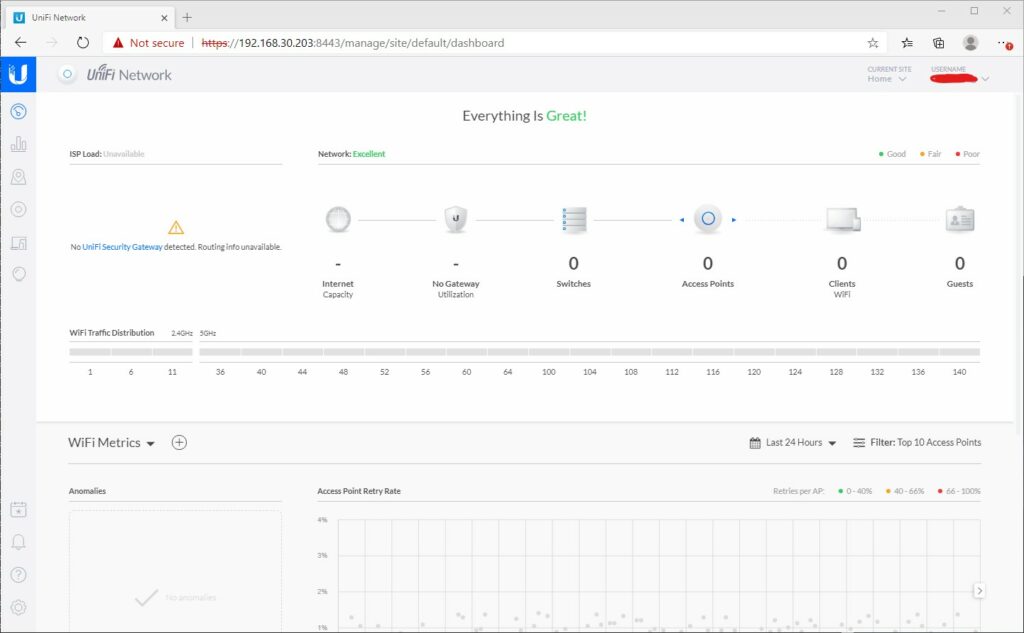
Within the administration portal for the UniFi controller, on the left near the bottom, select Settings, which looks like a Cog.
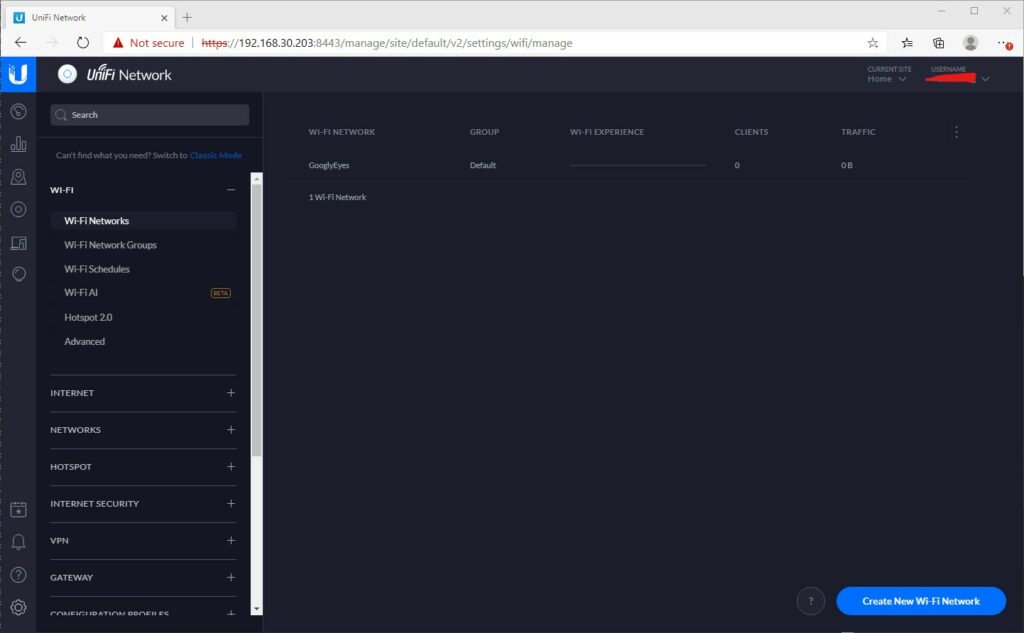
This opens the WiFi Networks tab.
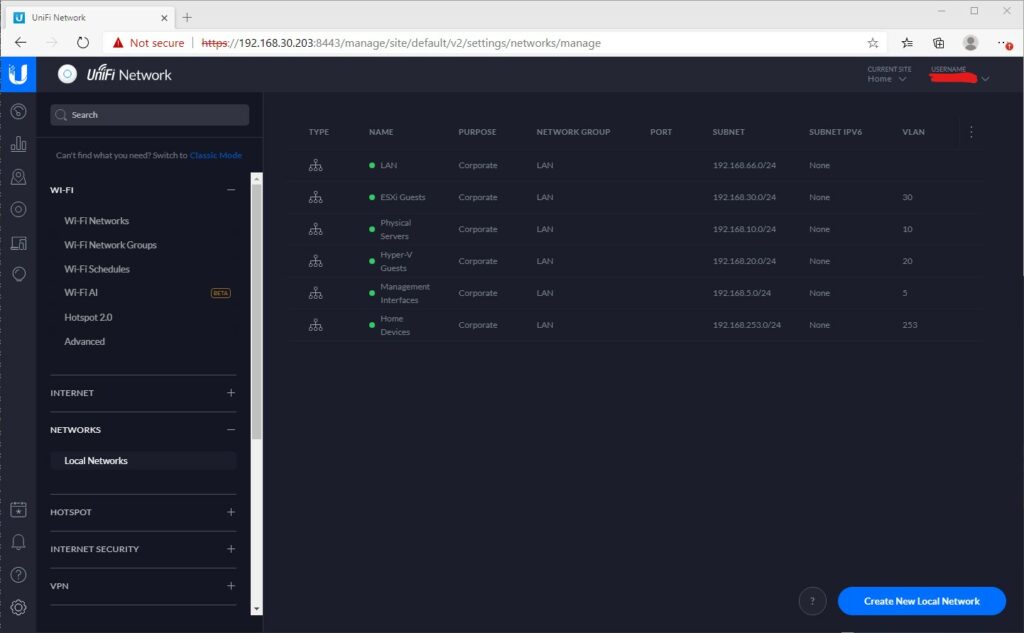
To configure the networks, Open the Local Networks tab underneath Networks.
It’s ARRIVED!
Late in the day (just the delivery schedule) but it arrived. Massive thank you to those at netxl for sorting this out so quickly.
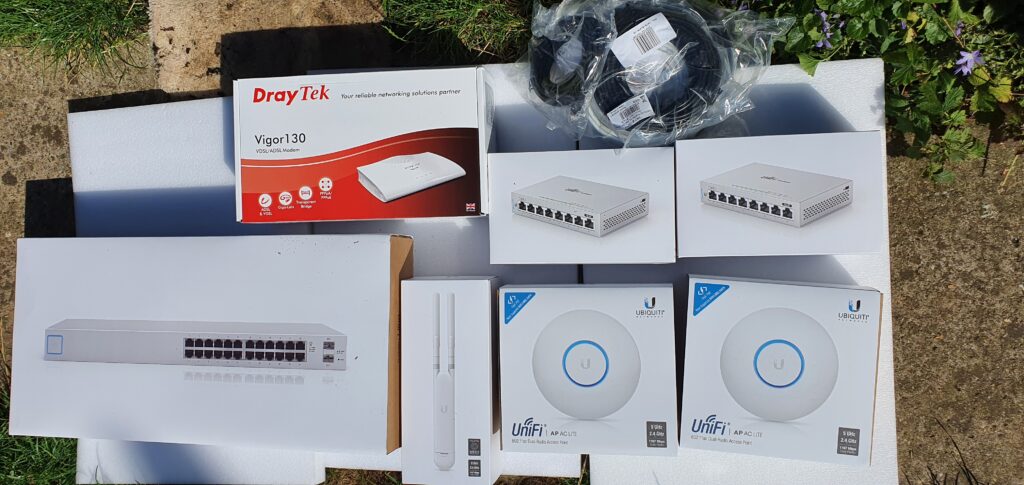
I will apologise, I was hoping to document the installation from start to finish. I kind of got lost in setting it all up. All in all, the Ubiquiti equipment is nice. It has a nice quality feel to it and the AP’s include a PoE injector. All very neatly packaged.
I can’t take a photo of the equipment in it’s place, mainly because the back of the rack where the 24 port is can’t be accessed easily, the 8 port switches are hidden behind furniture and the WiFi APs are not yet mounted.
Set up was relatively simple. There were a few things that tripped me up. Check out the lessons learned section below. For the WiFi I decided to deploy a whole new SSID. This was a simple process and is working well with devices automatically switching to 5GHz. This has allowed me to assess each device on the network and wire where necessary.
The DrayTek Vigor 130 has been set up in bridge mode. This was a simple radio button operation. The Sophos XG firewall was configured to use PPoE and the username/password from my ISP was entered. This all worked quickly. Bonus points to Vodafone for granting me a static IP which saves me doing rule updates when the line renegotiates. The DrayTek hasn’t improved my line speed, it’s still 11MBps. Roll on FTTH!
One thing I do need to sort out so that I can add the outdoor WAP is a C14 to C5 cable so that the PoE injector can be installed within the rack. For the moment, this is done using a long extension lead.
Sky Q and Ubiquiti UniFi
I have Sky Q and a mini box upstairs. One of the issues I have seen is plug in one of these boxes to the switches and the whole lot goes offline. Spanning Tree appears to be the cause. The first time I saw this occur was with a Meraki switch which I attempted to use first.
It is a hotly talked about topic on the internet with many people reporting issues on Ubiquiti and Meraki equipment in particular. The problem is that the Sky Q boxes also form a mesh WiFi network. This helps them with improving coverage of the Sky provided WiFi. Clever. But I am not using Sky broadband, I don’t want the Sky Q boxes as APs. I just want them as an ethernet client.
Things I have tried include completely disabling WiFi via the Engineer menu (001 whilst on Settings menu). I have disabled STP throughout the UniFi network. Neither of these made any difference and as soon as the Sky Q box was plugged in the network completely crashed. This appears to be something affecting Meraki Networks as well as Ubiquiti, indeed I saw the same happen on my Meraki switch before I went UniFi. My understanding is that Sonos does something very similar as well and has the same impact.
For now, the Sky Q system will remain on the WiFi, however I would really like to see it move to Ethernet in the future.
Update on Sky Q
After much Googling, I have managed to get Sky Q working via Ethernet only. I had to do three things.
- On the US-24 switch, set the STP priority under services to 4096
- On the US-8 Switches, set the STP priority under services to 8192
- On the US-8 Switches, enable STP on the port for the Sky Q box
With these settings, I was able to plug the Sky Q boxes in to the ethernet without the whole lot collapsing. I then used the ‘Engineer’ menu on the Sky Q boxes to disable the 2.4 and 5GHz wireless networks. The devices are no longer connected to the WiFi and are working. The only thing is that both boxes appear to be connected from the same network port, the Sky Q main port. A small thing that I can live with.
This does have one downside, when switching on the Sky box it does take a few moments to establish a connection. However once connected it does seem fine.
Lessons Learned
When configuring the networks, the Gateway IP is the existing Gateway IP. I thought it was going to be the ‘SVI’ interface of the switch but alas it’s not. When setting up the US-24 I discovered this when it would show in the dashboard then couldn’t perform the firmware upgrades.
When setting up the switches, I found it worked far better when nothing else but the uplink was connected.
These are not layer 3 switches. I thought I had read that they were but they are not. The Cisco C0120 will continue being used for internal VLAN routing. I could have bought a Ubiquiti router to perform this task.
LACP aggregated ports have to be consecutive. So I used ports 23 & 24. I could not use ports 1 & 24.
Closing Thoughts
Overall I am very happy with the new infrastructure. The Ubiquiti equipment feels very nice to use and has a quality feel to it. The performance is definitely up there. The coverage blackspots have disappeared and roaming is seamless. I still have to place the equipment in its final resting place and tidy up the cables that are strewn everywhere. It will be interesting to see how it stands up to the future.
The mobile application is really nice and gives a very nice overview of what’s happening on the network. Being able to control and configure the network from anywhere in the world is a great feature. It’s nice to have the home lab fully accessible without needing to do manual route entries, VPN or AnyDesk connections.
It’s definitely equipment I would recommend in future. Although more expensive than consumer grade equipment, the investment was worth it. Maybe one day I will replace the Sophos XG firewall with a UniFi one, however this isn’t a desperate requirement. As I need to expand the network I will definitely buy more. It does have a Meraki feel to it, but unlike the Meraki there isn’t an ongoing license cost to contend with.
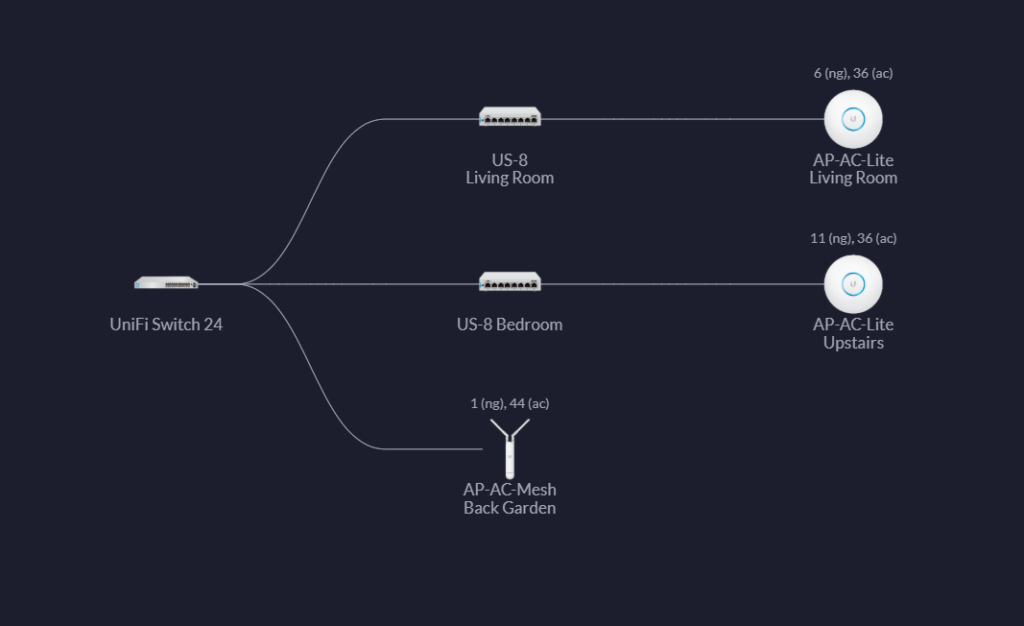
Topology Diagram
Finally, to end the post, a topology diagram from the Ubiquiti UniFi Controller. Connected to the US-24 is the Cisco blade switch and DrayTek Vigor, along with the C7000 Management cards.
I had similar if not the same issue. In my case I only had a SKY Q box but noticed that all apps had disappeared including Catchup TV etc. I got sky in and they could not resolve the issue. After, they left I tried by connecting the sky box to a hotspot on my phone then bingo everything came back on the SKY Q box.
I concluded there is something not right on my network. I moved the Network port off the IoT vlan and again all the Apps were back.
With almost all firewall rules being the same, I first allowed ICMP from the IoT vlan to the gateway address, this made no difference. My next move was to add a firewall rule allowing just the SKY Q box to access to the Gateway address for the IoT VLAN. After I rebooted the SKY box and here we go everything started working.
I finally achieved my goal of keeping the Box on the IoT network via a wired connection. Changing from RSTP to STP, removing the SKY Q from content filtering and all that you did not work for me.
Most of the post Online mention the same solutions but none work or worked for some.
It is fixed for me but what is a definitive solution to this problem. For me it’s obvious that me blocking my IoT network from accessing the Gateway created the problem. I have all other IoT devices block from the gateway on http, https and port 22. Allowing only the sky box to access the Gateway ip address has gotten it working. Note this on Unifi network 10.3.55
I hope this helps someone facing the same problem.