
I mentioned in the post First Test Session that we had a bit of a shopping list. Well, I wasted no time and bought a basket of bits from Dartford Karting. Very shortly afterwards I made a second order! So what did we get?
- Joe Gibbs Oil
- 2 Rear Hubs
- 3m Fuel Pipe
- Air Filter
- 15 Fuel Pipe Clips (no zip ties here :D)
- 2 Pedal Springs
- Steering Column top bush
- Fuel Pump
- Fuel Tank
- Spark Plug
I also had to acquire some circlip pliers and a puller tool. It’s probably worth getting a few bags of nuts, bolts, washers etc at some point too as some of the nuts are slightly rounded off. We tried to do a start at front, finish at back process and just work through the kart. So first thing at the front was new return springs
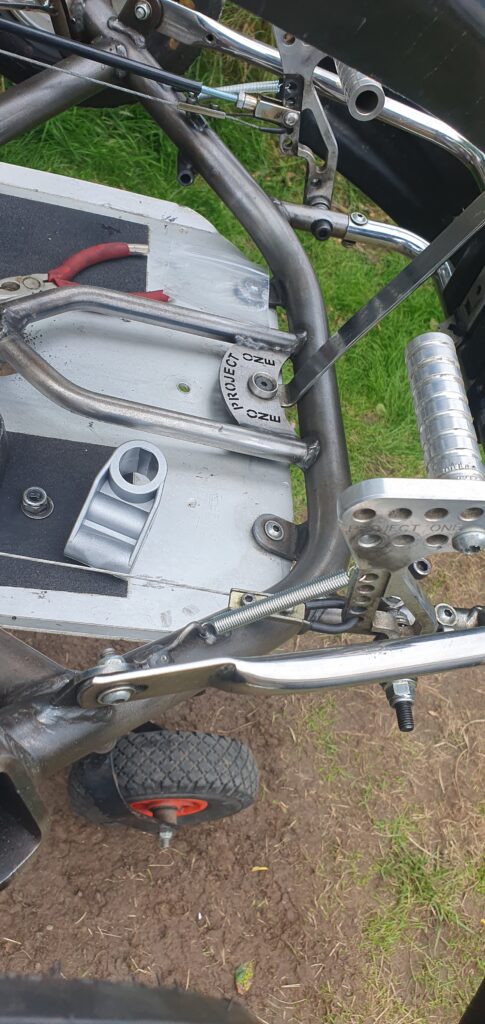
You can see in the above image the new steering column bush that was purchased, so that was the next thing to go on.
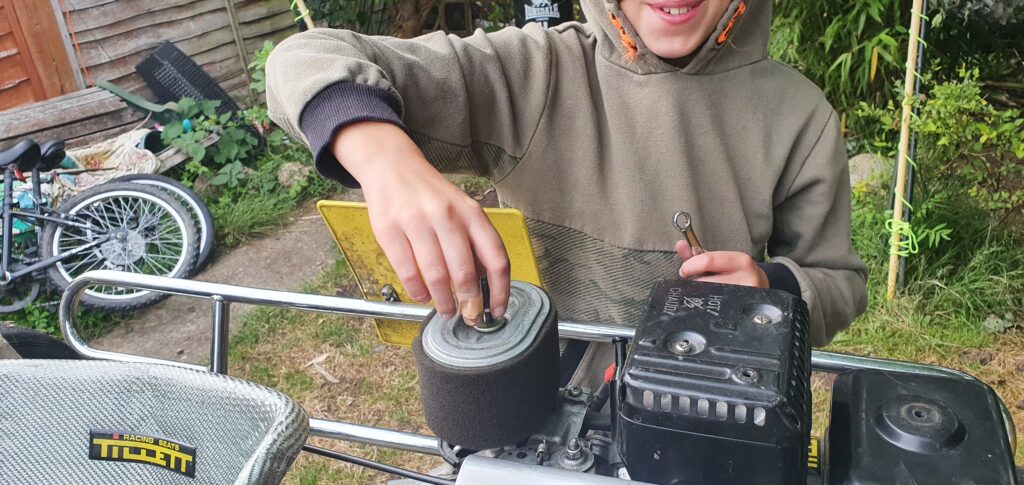
As a side note, look how grotty the tank is, there is grot in the fuel as well. I know we were working front to back, but I will come back to the fuel system in a bit, next up, get junior to replace the air filter, in the picture below he’s already removed the housing and is about to remove the filter itself. A pattern part will go back in its place.
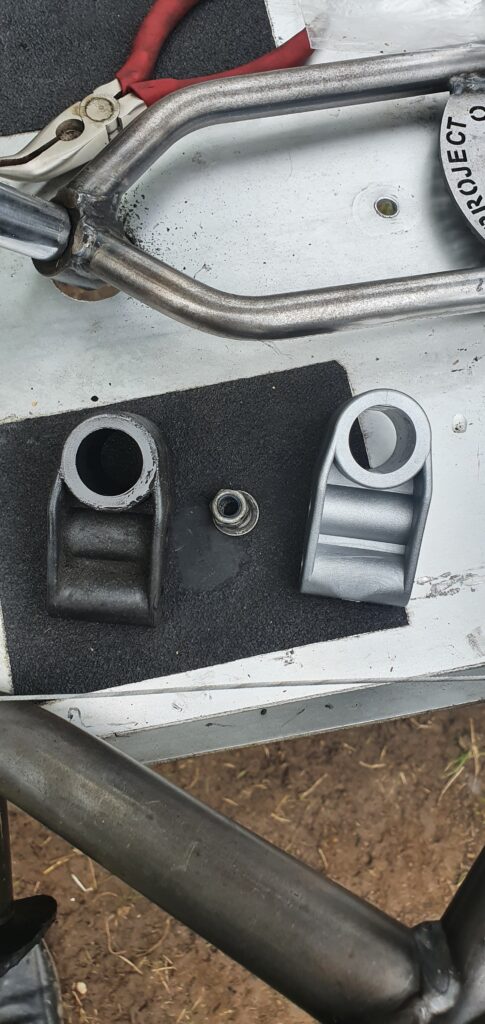
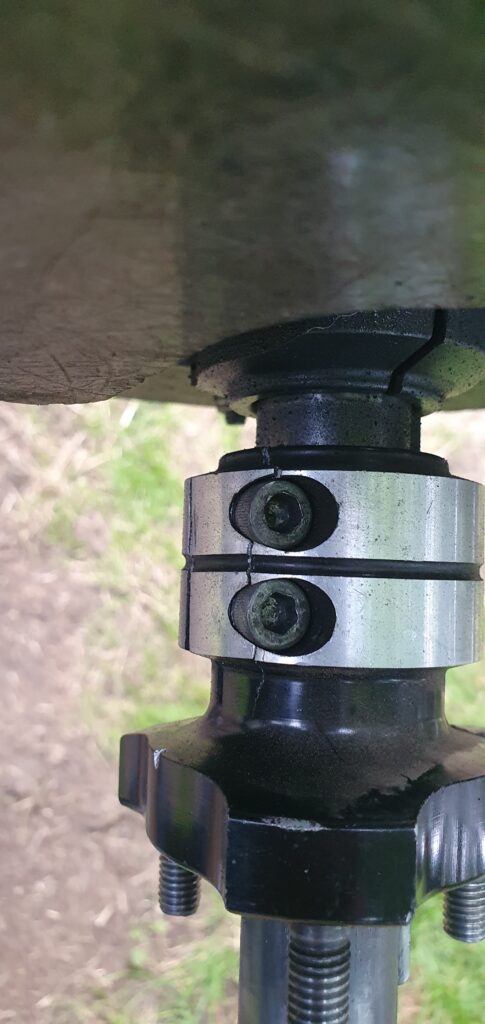
Next up is replacing the rear hubs. The first photo shows the crack we found in one of them when inspecting the kart and why they are being replaced
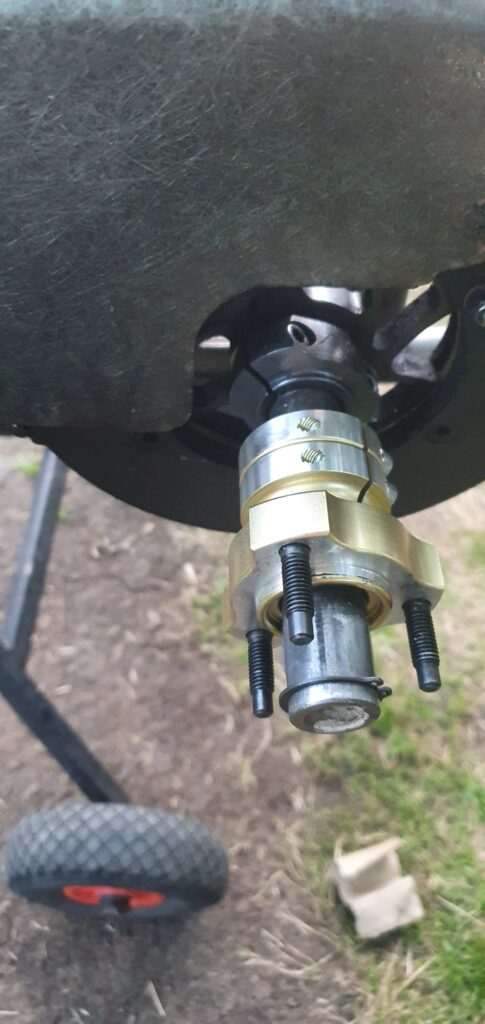
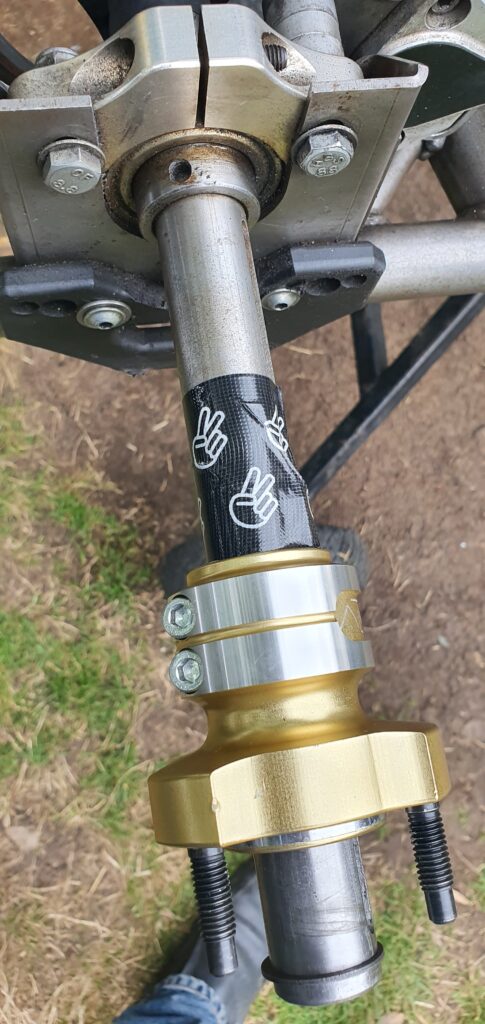
Now, here is something I do need to investigate. The positioning of the rear hubs. I have the factory settings from Project One, but I need to establish where their recommended setting is to on the hub. I know its about 8mm from the circlip but is that to the outer edge of the rim or the hub? I will work it out. On to the other side, when we checked over the kart, we removed a load of tape that was holding the key in place, I noticed that after this the key kept falling out and when asking around it turns out that it’s a common Project One issue, without mentioning the brand I was told “You’ve got a Project One, tape it in place or use a jubilee clip”, so Mighty Car Mods tape to the rescue #chopped
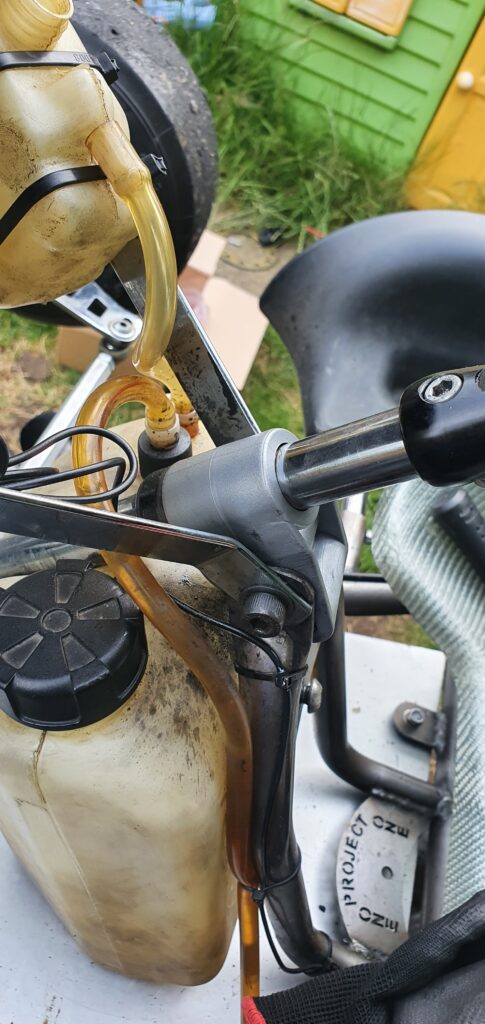
Lastly (for this post at least!), we replaced the fuel tank and fuel lines. Along with using proper spring clamps for the connections. Appreciate that zip ties would suffice as the system isn’t pressurised like fuel injection, but I think the clamps look better.
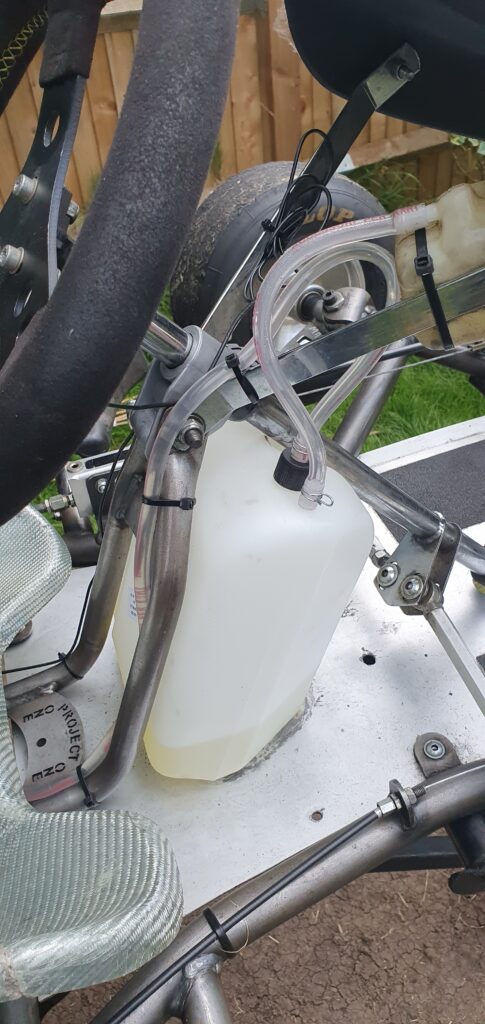
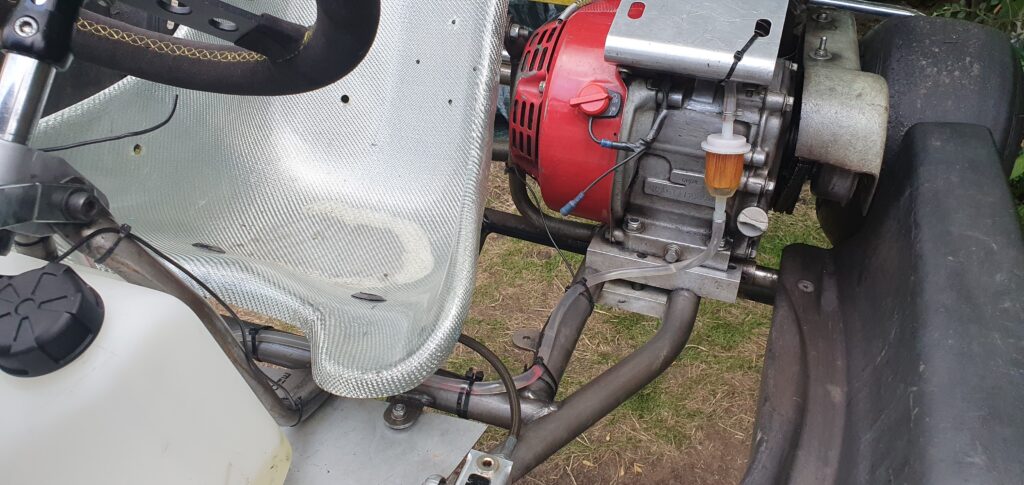
I didn’t fit the fuel pump in the end, but I am keeping it as a spare part. The fuel pump fitted already was a Mikuni one, which can be refurbished. So for now, I have reused that. the fuel line should have enough slack in it that if we replace the fuel filter with a smaller one we can easily adjust it. I took a look at a 2019 and 2020 chassis Project One and attempted to follow the factory routing for the fuel line, i.e. down the steering column, along the cross member and down. I kept it above the chassis to prevent anything from breaking it.
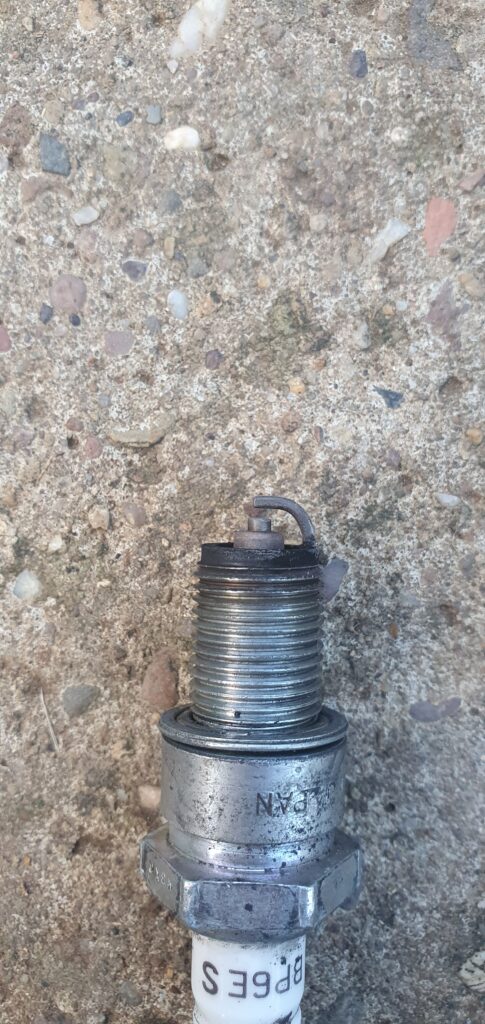
The last task we had was to change the spark plug. This was a simple task. Although we didn’t have any signs of a misfire or anything like that, as we are giving the kart a service, I thought it prudent to do the plug. It’s a £3 part that can ruin your day. I was surprised to take out the old plug and find it in a reasonable condition. Will keep it as a spare just in case, as it will definitely ‘get us home’. In terms of gap, I tweaked the new one to be somewhere near the old one, I don’t have feeler gauges at the moment so can’t say for sure what size gap it is.
The next round of works will include
- 82 tooth sprocket (seems to be recommended for Rye House, or a 19:77 I think it was)
- New Chain (to suit sprocket, minefield!)
- 2020 compliant exhaust (this allows us to do IKR up at Rye House)
- Breather system
- Sprocket protectors to suit above
- New nuts & bolts as we only have 3 for the protector
- Axle bearings
We haven’t changed the oil. I am not sure if the drain plug washer is a compression sealing washer or not so I have ordered a replacement (67p) in case, then we can get the oil changed. Overall the kart is looking good, it started and ran well with all the changes on the stand. The true test will be when we next get a test session at Rye House.